Help Center
Using Kinovea for Slow Motion Replay
Overview
This article will walk you through the steps to install and configure Kinovea. Thank you to @inorkuo for the assistance in putting this together. This is very useful for swing analysis and practice. This setup closely mirrors what GolfTec offers but for a fraction of the cost.
Prerequisites:
- USB camera ) preferably 120 frames-per-second or higher, but not required)
- Audio input (can be integrated into camera or standalone)
Download and Install Kinovea
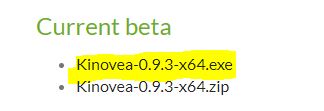
- Download the Kinovea installer from https://www.kinovea.org/download.html. Download the current beta version 0.9.3 or newer.
- Once the download is complete, launch the installer.
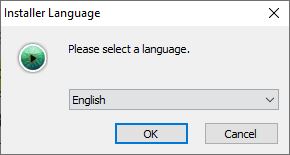
- Select your preferred language
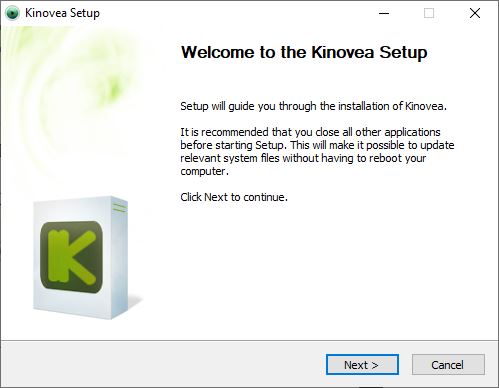
- When the setup window appears, click Next.
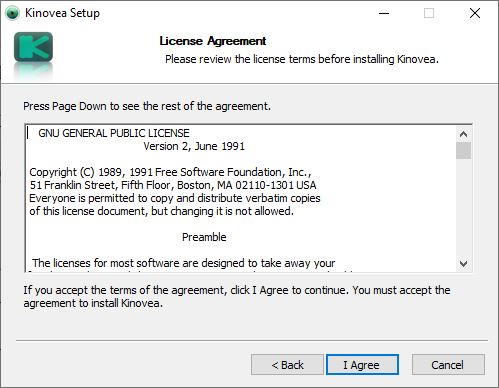
- Click I Agree to accept the license agreement.
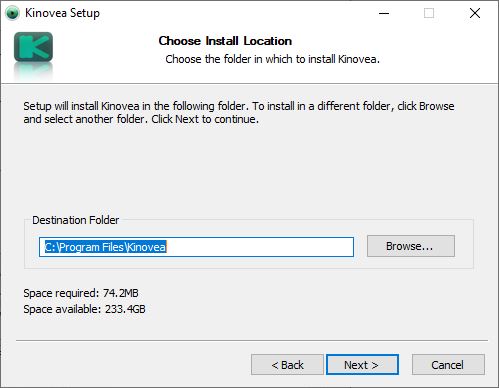
- Select the installation folder and click Next.
- Click Install.
- Wait for the installation to complete and then click Finish to launch Kinovea.
Configure One Camera for Capture and Replay
Configure Capture Settings
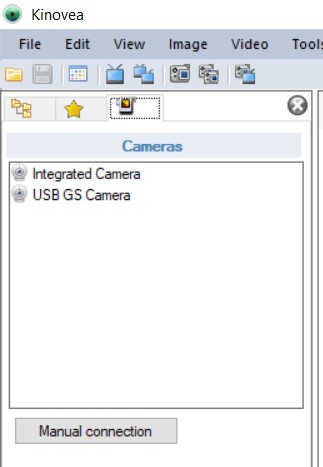
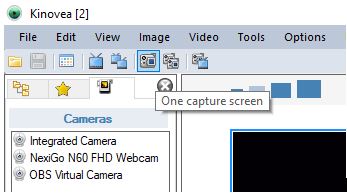
- In the left window, click the Cameras icon tab to show all the available cameras.
- Click the One Screen Capture icon.
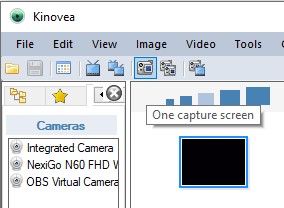
- A capture screen will appear. Select the desired camera from the menu on the left and drag/drop it into the new capture window.
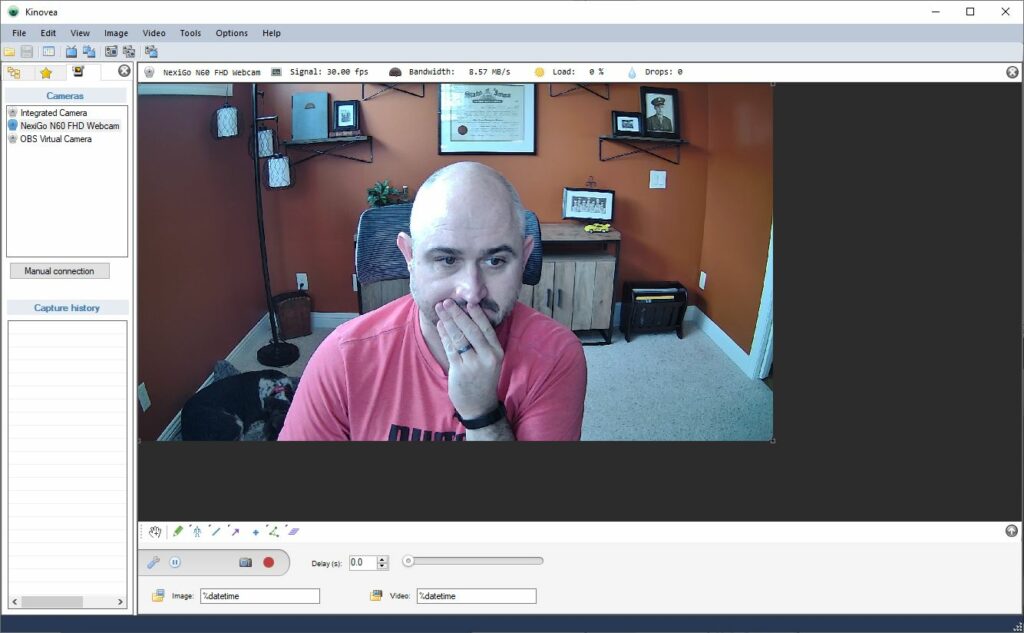
- Verify that the Signal matches the fps you expect. If it is lower, you may need to adjust your lighting conditions or camera settings. You can adjust the camera settings (low-light correction, gamma, contrast, etc.) by clicking the wrench icon in the bottom left of the screen.
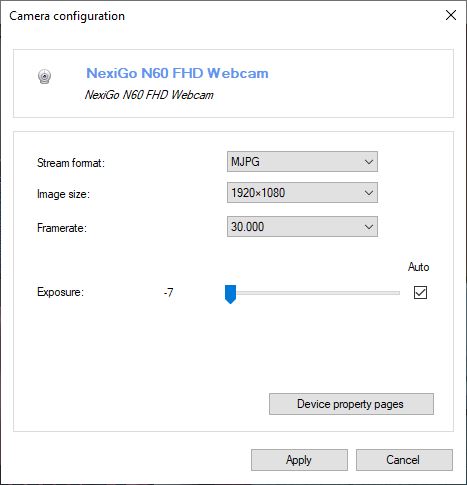
- Configure the image size and framerate. If a higher framerate is not available, it may be because the camera has low light compensation enabled. Click Device Properties pages.
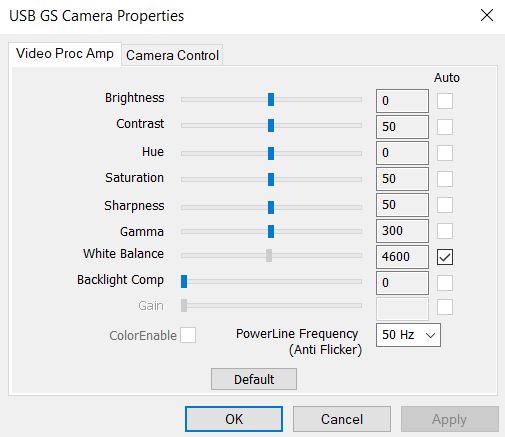
- Adjust the properties to optimize the video given your lighting conditions. Then click the Camera Control tab.
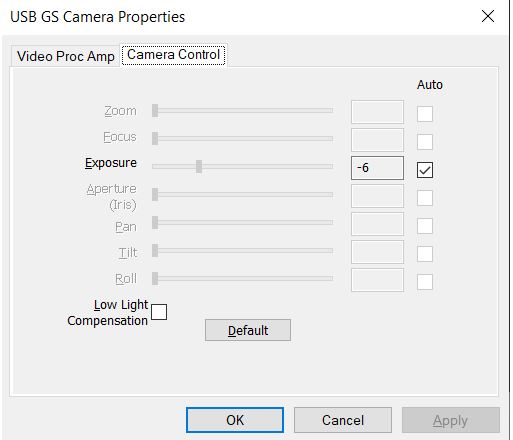
- Verify that the Low Light Compensation box is not checked. Click OK and then Apply.
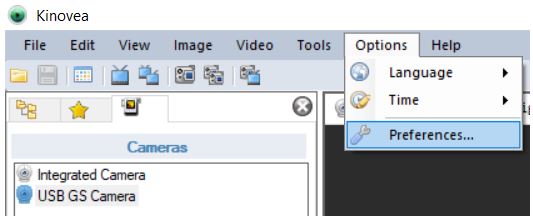
- From the top menu, select Options >Preferences
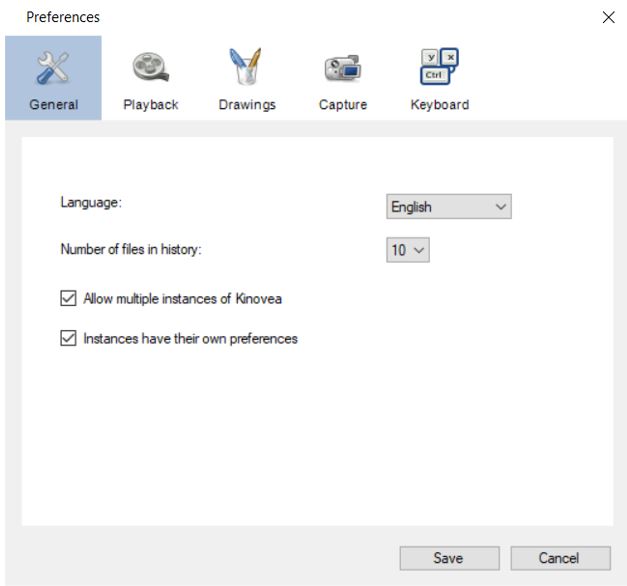
- Verify that the Allow multiple instances of Kinovea is checked.
- Click the Playback tab as configure as shown.
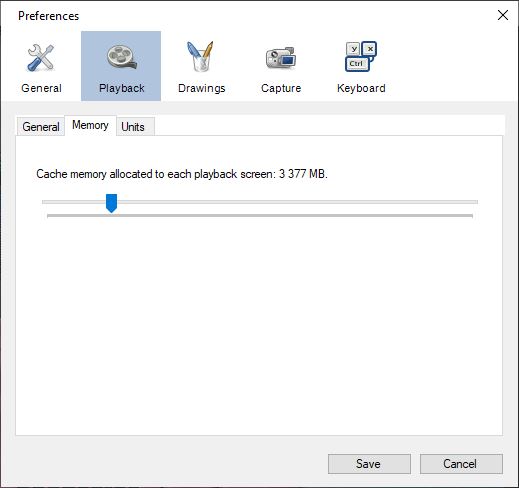
- Click the Memory tab and configure the cache memory setting to allow the required recording cache you need to record. The longer the clip and the higher resolution / framerate capture, the larger cache you will need to set. 3-4 MB should be sufficient for most setups.
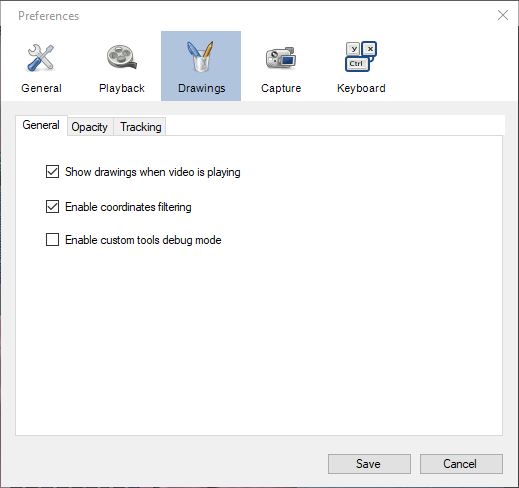
- Click the Drawings tab and then click the Opacity tab. Check the visible for entire video box if you want images you draw (training aids) to be visible for the entire video.
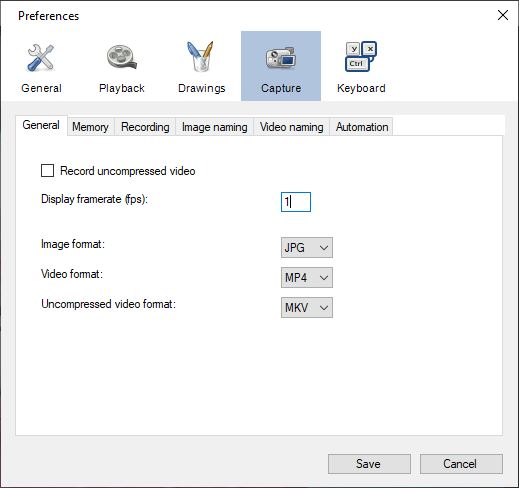
- Click the Capture tab. If you need to save processing power, you can set the Display framerate fps setting to 1. This only impacts what is shown on the capture screen, not what is actually recorded. Since you will only be using the replay window, this doesn’t really matter. Configure how you want to save the video files. Keeping the defaults is recommended.
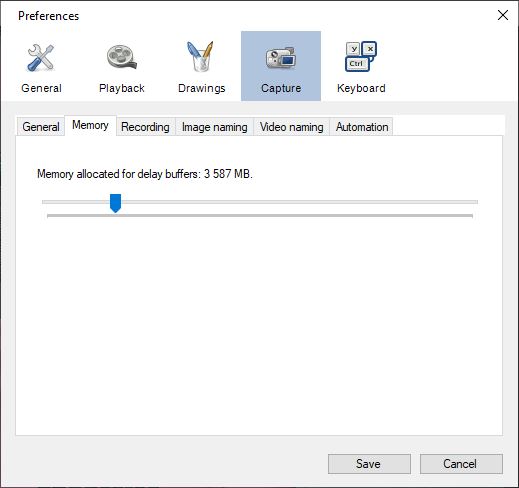
- Click the Memory tab and configure the cache memory setting to allow the required recording cache you need to record. The longer the clip and the higher resolution / framerate capture, the larger cache you will need to set. 3-4 MB should be sufficient for most setups.
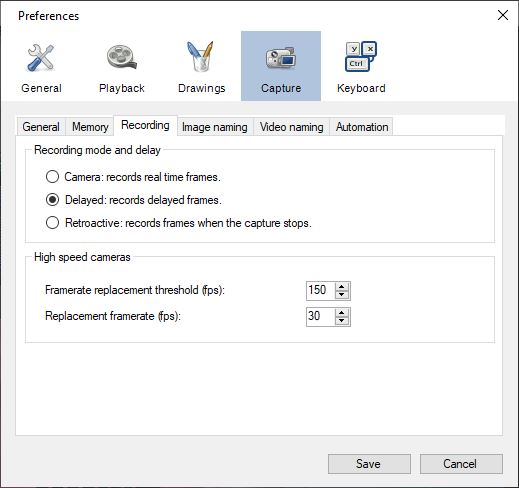
- Click the Recording tab. Select the Delayed: records delayed frames option. This option will allow you to record the part of your swing prior hitting the ball and activating the audio trigger (which is set up in later steps).
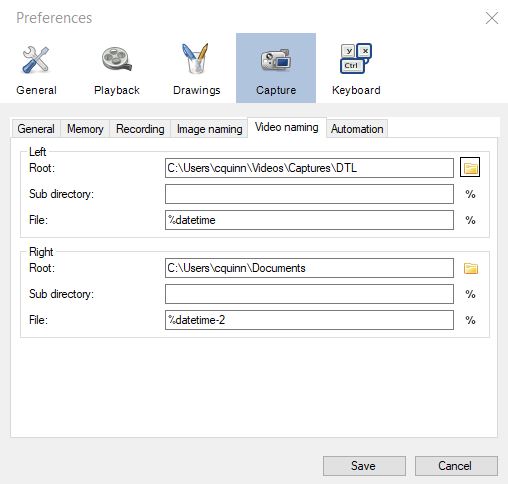
- Click the Video Naming tab. Select the Root folder where you want to save the captured files. If only capturing 1 camera, only the Left settings are used. Delete the Sub directory line. If you don’t do this, you will need to reconfigure the replay settings every day.
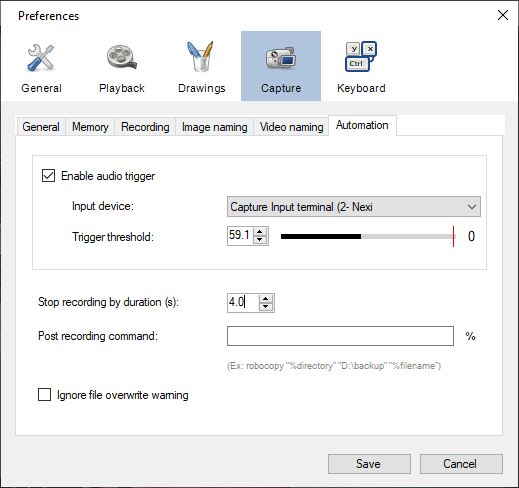
- Click the automation tab and configure:
- Enable audio trigger – Checked
- Input Device: select the audio device you wish to use to trigger the recording
- Trigger threshold: move the slider to set the your desired audio trigger threshold so that it will trigger to record your swing, but not when the ball bounces, when your neighbor starts their car, etc. You can test this by hitting balls and verifying that the slider moves past the threshold. The counter will increment every time you exceed the threshold.
- Click Save.
Click Save to save all the settings.
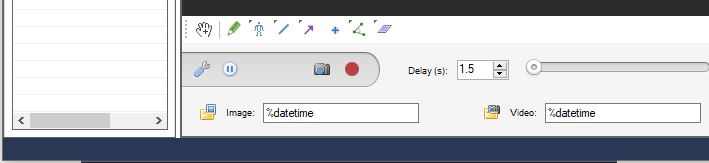
- On the bottom of the screen, update the Delay value. This value controls how “delayed” the video is, allowing the capture to capture your full swing even though capture is “triggering” from the sound of you hitting the ball. A delay of 1.5 s should work well but you may need to tweak based on the capture / replacement rate and the club you are hitting to capture your full swing.
Configure Replay Settings
- Open another instance of Kinovea.
- Click the One Playback icon.
- Right click in the black playback window and select open replay folder observer. This will allow you to select the folder where you are saving the captures and automatically replay them when a new video is created.
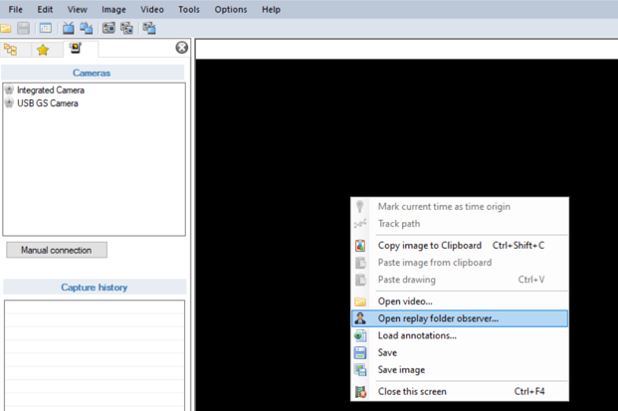
- Navigate to and select the folder where you are capturing the videos (configured in the previous section) and click Select Folder.
- Hit a shot. The replay should appear in the Kinovea (2) instance shortly.